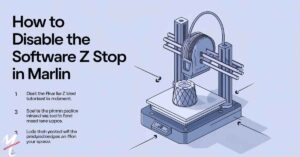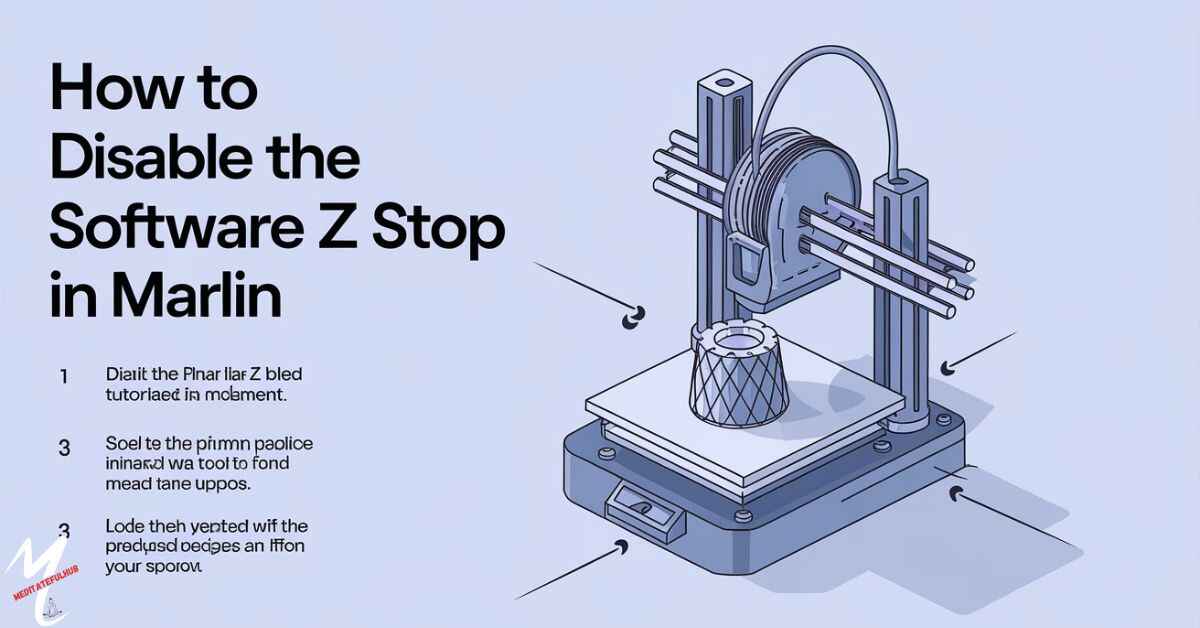
Disabling the Software Z Stop in Marlin firmware can significantly improve your 3D printing experience. Many users struggle with print quality issues and bed leveling problems due to this feature. These challenges often lead to frustration, wasted materials, and time-consuming troubleshooting.
Fortunately, there’s a solution. By following our step-by-step guide, you can easily disable the Software Z Stop in Marlin, giving you more control over your printer’s performance. This article will walk you through the process, helping you achieve better print results and smoother operation of your 3D printer.
What is Software Z Stop?
Software Z Stop is a feature in Marlin firmware for 3D printers. It controls the printer’s vertical movement, preventing the nozzle from crashing into the print bed. This digital limit switch works alongside hardware endstops. Z Stop ensures precise positioning during printing. It helps maintain the correct distance between the nozzle and the print surface. Understanding Z Stop is crucial for achieving high-quality 3D prints.
Importance of Z Stop in 3D Printing
Z Stop plays a vital role in 3D printing. It ensures accurate first layer adhesion by controlling nozzle height. Proper bed leveling relies on Z Stop functionality. It prevents nozzle crashes and potential damage to the printer. Z Stop contributes to consistent print quality across projects. It helps maintain the correct layer height throughout the print. Without Z Stop, achieving precise and reliable 3D prints would be challenging.
Understanding Software Z Stop
Software Z Stop is a digital feature in Marlin firmware. It works with the printer’s control board to manage vertical movement. The feature uses input from sensors to determine nozzle position. It prevents the nozzle from moving below a set point. Software Z Stop can be fine-tuned for different print surfaces. It offers more flexibility than hardware-only solutions. Understanding Z Stop helps users optimize their printer’s performance.
How Software Z Stop Works in Marlin
In Marlin firmware, Software Z Stop monitors the printer’s vertical position. It uses data from sensors or encoders to track movement. When the nozzle reaches the set Z Stop point, the firmware halts downward motion. This prevents the nozzle from pressing too hard on the print bed. Software Z Stop can be adjusted through firmware settings. It works in conjunction with other features like auto bed leveling.
Advantages of Software Z Stop
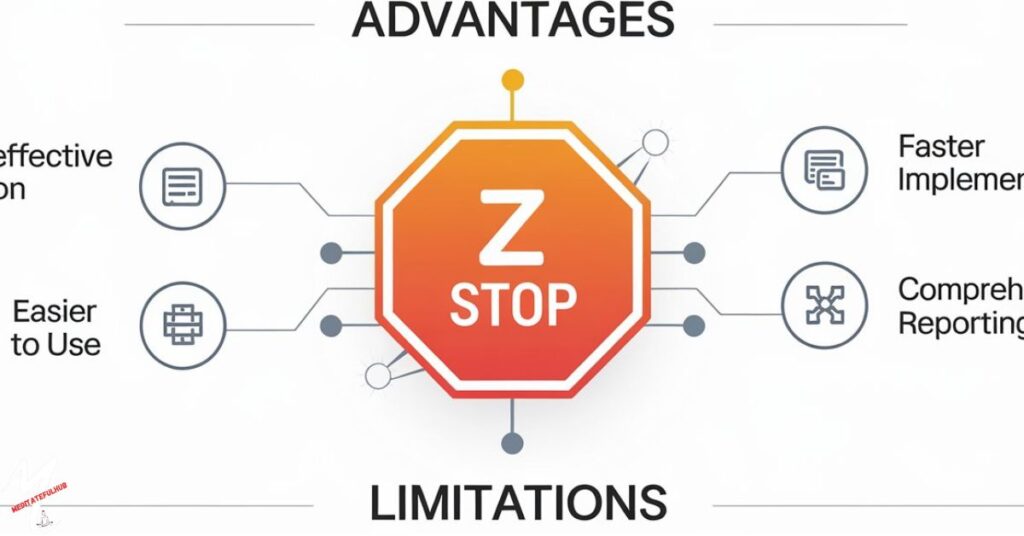
Software Z Stop offers several benefits for 3D printing. It provides precise control over nozzle height. Users can easily adjust Z Stop through firmware settings. It helps prevent damage to the print bed and nozzle. Software Z Stop enhances first layer adhesion. It improves overall print quality and consistency. The feature works well with different bed materials. It can be fine-tuned for specific printing needs.
Limitations of Software Z Stop
Despite its benefits, Software Z Stop has some limitations. It relies on accurate sensor data, which can be affected by interference. Incorrect settings may lead to poor print quality or failed prints. Software Z Stop may not work well with all printer configurations. It can be challenging for beginners to set up correctly. Some users find it less reliable than hardware endstops. In certain scenarios, it may cause unexpected behavior during printing.
Why Disable Software Z Stop?
Disabling Software Z Stop can be beneficial in some situations. It allows for more manual control over nozzle height. Some users prefer hardware endstops for reliability. Disabling Z Stop can solve certain print quality issues. It may be necessary when using specific bed leveling techniques. Some advanced users disable it for custom printing setups. Turning off Z Stop can help troubleshoot firmware-related problems.
Scenarios Where Disabling is Beneficial
Disabling Software Z Stop can help in various scenarios. It’s useful when implementing manual mesh bed leveling. Some users disable it when using glass beds for better adhesion. It can solve issues with inconsistent first layer height. Disabling Z Stop helps when calibrating new firmware settings. It’s beneficial for experimenting with custom print profiles. Some scenarios require more precise manual control over Z-axis movement.
Potential Risks of Disabling Software Z Stop
Disabling Software Z Stop comes with some risks. Without this feature, your printer may crash the nozzle into the bed. This can damage both the nozzle and the print surface. Print quality might suffer due to incorrect nozzle height. You may need to manually adjust Z-axis settings more often. There’s a higher chance of failed prints, especially for beginners. It’s important to understand these risks before making changes to your printer’s firmware.
Preparing to Disable Software Z Stop in Marlin
Before disabling Software Z Stop, proper preparation is crucial. Understand your printer’s current settings and behavior. Research how this change might affect your specific printer model. Ensure you have a stable version of Marlin firmware installed. Familiarize yourself with firmware editing and uploading processes. Have a plan to revert changes if needed. Prepare to spend time fine-tuning your printer after disabling Software Z Stop. These steps will help ensure a smoother modification process.
Backup Your Current Firmware
Backing up your current firmware is essential before making changes. This step safeguards against potential issues. To backup, connect your printer to a computer and use firmware flashing software. Save a copy of your current firmware file to a safe location. Note down all current settings, especially those related to Z-axis movement. This backup allows you to restore your printer if problems arise after disabling Software Z Stop. Always keep this backup accessible for future reference.
Gathering Required Tools and Software
To modify Marlin firmware and disable Software Z Stop, you’ll need specific tools. These include a computer with a compatible operating system, usually Windows, Mac, or Linux. You’ll need an Integrated Development Environment (IDE) like Arduino IDE or PlatformIO. Download the latest Marlin firmware source code from the official website. Ensure you have the correct USB drivers for your printer’s control board. Gather any necessary cables to connect your printer to the computer.
Steps to Disable Software Z Stop in Marlin
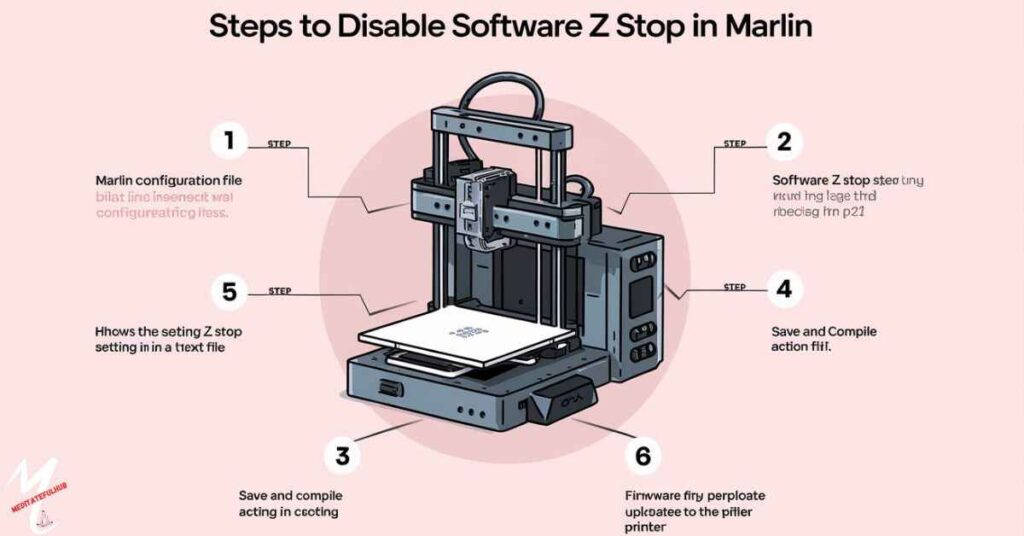
Disabling Software Z Stop in Marlin involves several steps. First, you’ll need to access and edit the firmware configuration file. Then, you’ll locate the specific setting for Software Z Stop. After changing this setting, you’ll save and compile the modified firmware. Finally, you’ll upload the new firmware to your 3D printer. Each step requires careful attention to detail. Following these steps correctly will ensure a successful modification of your Marlin firmware.
Step 1: Access Your Marlin Configuration File
To access the Marlin configuration file, open your firmware folder on your computer. Look for a file named “Configuration.h“. This file contains all the settings for your printer’s firmware. Make sure you’re working with the correct version of Marlin for your printer. If you can’t find the file, check your printer’s documentation for its location. Accessing this file is the first step in disabling this Software.
Step 2: Open the Configuration File
Open the Configuration.h file using a text editor or IDE. Popular choices include Notepad++, Visual Studio Code, or Arduino IDE. Make sure you use software that can handle code formatting. This will make it easier to navigate the file and make changes. Opening the file correctly is crucial for modifying the Software setting safely and effectively.
Step 3: Locate the Software Z Stop Setting
In the Configuration.h file, search for the Software Z Stop setting. Look for a line containing “Z_MIN_PROBE_USES_Z_MIN_ENDSTOP_PIN” or similar. This setting controls the Software function. It may be in a section related to endstops or Z-axis configuration. Use the search function in your text editor to find it quickly. Locating this setting accurately is key to disabling Software Z Stop.
Step 4: Disable the Software Z Stop
To disable Software, change the value of the setting you found. Usually, you’ll change “true” to “false” or uncomment a line by removing “//”. The exact change depends on your Marlin version. Double-check the surrounding comments for guidance. Make only this change to avoid unintended effects. Disabling Software requires careful editing of this specific line in the firmware.
Step 5: Save and Compile the Firmware
After changing the Software Z Stop setting, save the Configuration.h file. Then, compile the entire Marlin firmware. Use the appropriate software for your setup, like Arduino IDE or PlatformIO. Compiling checks for errors in the code. If you encounter errors, double-check your changes. A successful compilation means your modified firmware is ready for upload. This step prepares your new firmware without Software Z Stop.
Step 6: Upload the Updated Firmware
Connect your 3D printer to your computer with a USB cable. Use your firmware flashing software to upload the new firmware. Follow the software’s instructions for uploading. This process overwrites your printer’s existing firmware. Make sure your printer stays connected and powered on during the upload. After uploading, your printer will restart with Software disabled.
Read This Blog: Hoi-313: Revolutionizing the Future of Human Connectivity
Verifying the Disabled Software Z Stop
To verify that Software Z Stop is disabled, check your printer’s settings menu. Look for Z-axis or endstop configurations. Some printers show firmware settings directly. You can also try moving the Z-axis manually to its lowest point. If it goes lower than before, Software is likely disabled. Always verify changes to ensure your printer is functioning as expected.
Testing the Printer After Disabling
After disabling Software Z Stop, test your printer thoroughly. Start with a simple print job. Watch the first layer closely to ensure proper bed adhesion. Check if the nozzle moves freely in the Z-axis. Monitor print quality across different heights. Perform a bed leveling test if your printer has this feature. Testing helps confirm that disabling Software hasn’t negatively impacted your printer’s performance.
Troubleshooting Common Issues
Common issues after disabling Software Z Stop include nozzle crashes and poor first layer adhesion. If you experience crashes, check your Z-axis endstop. For adhesion problems, adjust your Z-offset manually. Inconsistent layer heights might require recalibration of your Z-steps. If prints fail, double-check your firmware settings. Remember, you can always revert to your backup if problems persist. Troubleshooting helps ensure smooth printing without Software Z Stop.
Alternative Methods to Manage Z Stop
Besides Software, there are other ways to manage Z-axis movement. Manual bed leveling is a common alternative. Some printers use mechanical endstops for precise control. Automatic bed leveling systems offer another solution. You can also adjust Z-offset manually before each print. These alternatives provide different ways to achieve accurate first layers and prevent nozzle crashes.
Also Read: Get Fit and Have Fun: Working Out with Two Guys at Romina Boudoir
Hardware Z Stop Options
Hardware Z Stop options include mechanical endstops and optical sensors. Mechanical endstops are simple switches that stop Z-axis movement. Optical sensors use light to detect the print bed position. Some printers use inductive or capacitive probes for Z stop functionality. These hardware options often provide reliable and precise Z-axis control. They can be a good alternative to Software Z Stop in many cases.
Manual Z Offset Adjustment
Without this software, you’ll need to adjust Z offset manually. Use your printer’s control panel to move the nozzle close to the bed. Place a piece of paper between the nozzle and bed. Lower the nozzle until it barely grips the paper. This is your Z offset. Save this setting in your printer or slicer software. Remember to check this before each print for best results.
Best Practices After Disabling Software Z Stop
After disabling this software, adopt new practices for safe printing. Always watch the first layer closely. Keep your finger near the emergency stop button. Regularly check bed leveling and Z offset. Clean your print bed often for better adhesion. Use a test print before complex projects. These habits help maintain print quality and prevent damage to your printer.
Maintaining Print Quality
To keep print quality high without this software, focus on key areas. Check bed adhesion regularly. Adjust Z offset before each print if needed. Monitor filament quality and dryness. Keep your nozzle clean and replace when worn. Use the right temperature for your filament. These steps help ensure your prints remain high-quality, even without automated Z stop features.
Regular Calibration and Maintenance
Regular maintenance becomes crucial without this software. Calibrate your printer’s axes monthly. Check belt tension and lubricate moving parts. Clean the nozzle and extruder gears regularly. Tighten any loose screws or bolts. Perform a full bed leveling every few weeks. This routine keeps your printer accurate and reliable, compensating for the lack of software assistance.
FAQ
Can I re-enable Software Z Stop after disabling it?
Yes, you can re-enable Software Z Stop by reversing the changes in your Marlin firmware configuration file and re-uploading the firmware to your printer.
Will disabling Software void my printer’s warranty?
Modifying firmware may void your warranty. Check your printer’s warranty terms or contact the manufacturer for specific information about firmware modifications.
Are there any specific printer models where disabling Software Z Stop is not recommended?
Disabling Software is generally not recommended for printers with auto bed leveling features or those specifically designed to rely on this software function.
How does disabling Software Z Stop affect auto bed leveling?
Disabling Software may interfere with auto bed leveling functions. You may need to reconfigure or manually adjust your bed leveling settings after disabling this feature.
What are the signs that indicate Software Z Stop should be disabled?
Frequent Z-axis positioning errors, inconsistent first layer height, or difficulties in fine-tuning Z-offset may indicate that disabling Software Z Stop could be beneficial.
Conclusion
Disabling Software Z Stop in Marlin can offer greater control over your 3D printer’s Z-axis movement. However, it requires careful consideration and understanding of the risks involved. By following the steps outlined in this guide, you can safely modify your printer’s firmware. Remember to maintain regular calibration and adopt new best practices to ensure optimal print quality.
While this modification can solve specific issues, it’s crucial to weigh the benefits against potential drawbacks for your particular setup.
Remash is a dedicated tech enthusiast and writer for Meditatefulhub.com. With a passion for exploring the latest in technology, Remash brings insightful articles and reviews to help readers stay informed in the ever-evolving tech landscape.